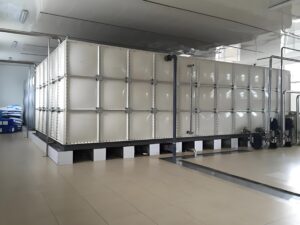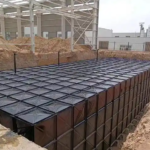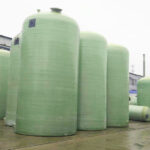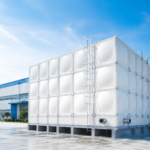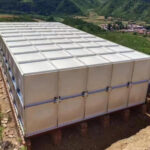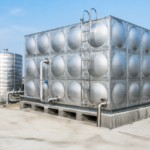
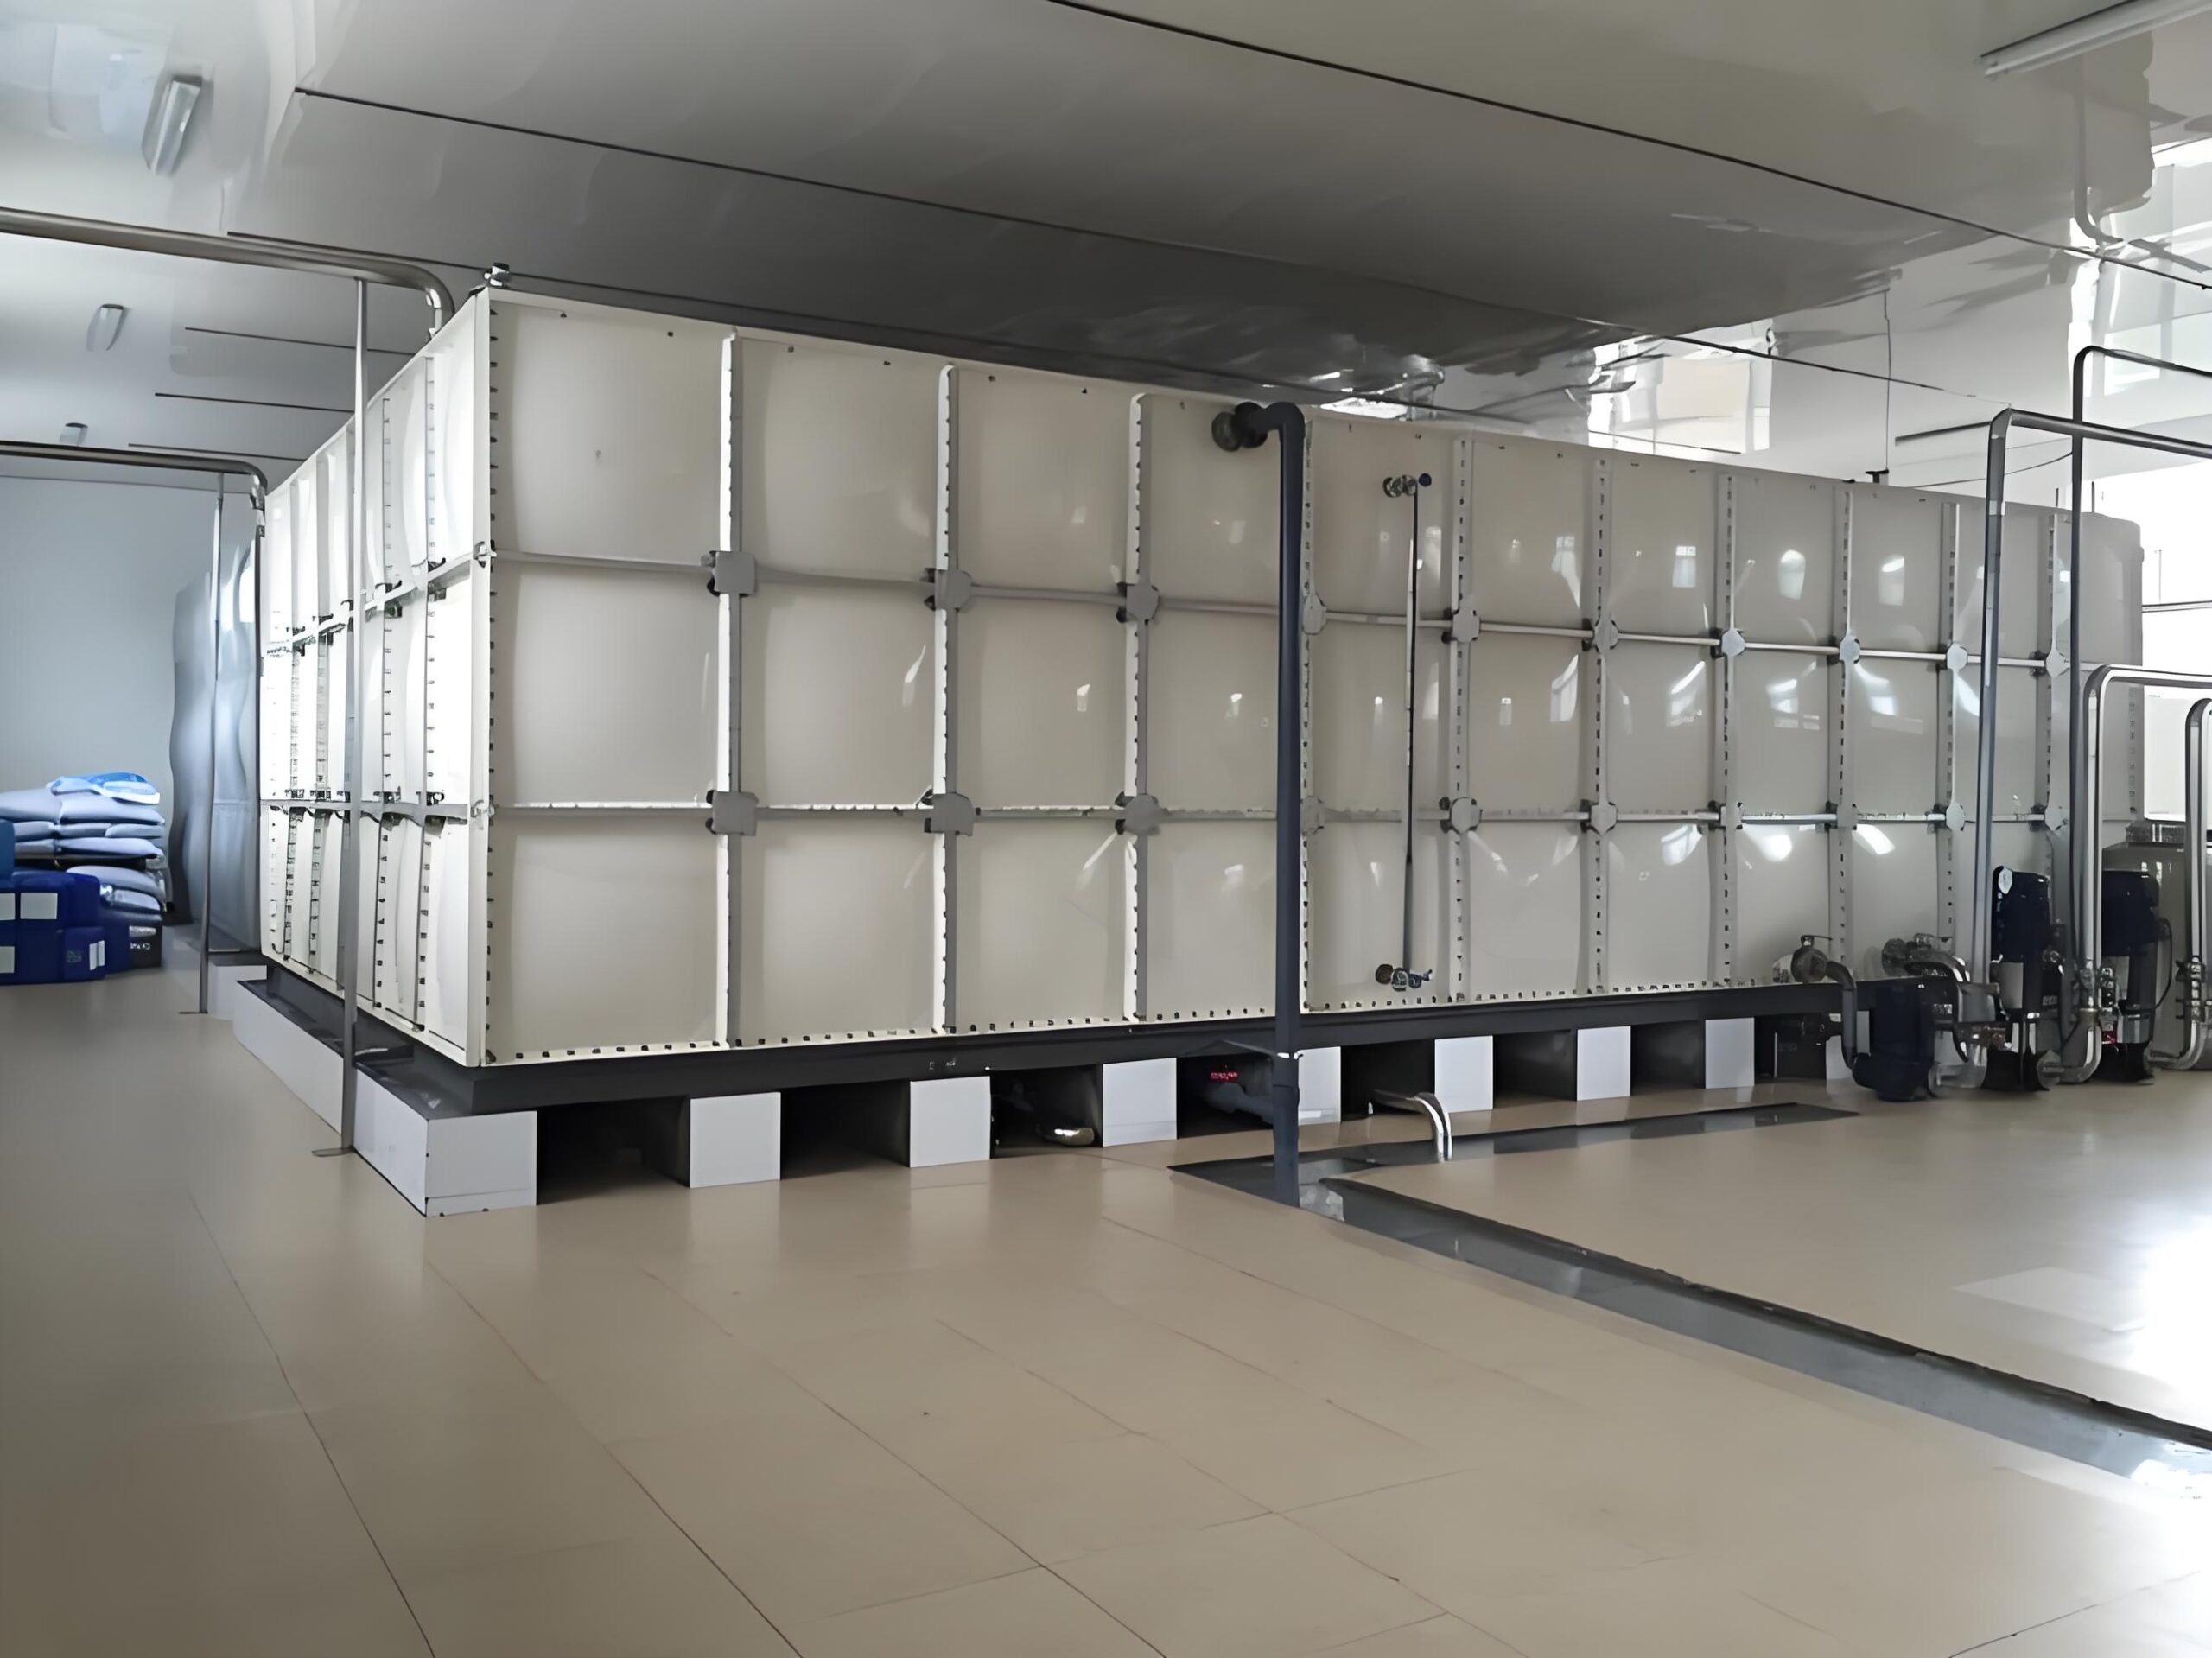
A sectional water tank is only as good as its installation. The panels and frames arrive as a kit of parts, and everything that determines whether the tank lasts twenty-five years or develops a leak in year three happens on site: the flatness of the base, the sequence of assembly, the cleanliness of the sealing surfaces, the torque on the bolts and the care taken over commissioning. This guide walks through the full sequence for an SMC (sheet moulding compound) panel tank.
SMC panels are compression-moulded from glass fibre reinforced polyester, with a smooth food-grade inner surface and a UV-stabilised outer surface. That construction affects how they should be handled: they are strong in the assembled tank but should never be dropped, dragged or used as a working platform while loose. As a SMC water tank manufacturer, we supply an installation sequence with every tank, and the steps below follow it.
Before You Start: Site Preparation
Most installation problems trace back to the base. Requirements:
- Level and flat — typically within 3 mm over 3 m in any direction unless the specification is stricter.
- Structurally adequate — a reinforced concrete slab designed for the full filled weight of the tank, not just the empty structure.
- Correct set-down — the slab must accommodate the tank’s base rails or bearers, and any recesses for pipework.
- Clear access — a route for carrying panels in, and enough working space around the tank footprint for assembly and future maintenance.
- Drainage — the plant room or pit must be able to drain, both for commissioning and for future cleaning.
Check the slab before the delivery arrives. Correcting an uneven base after the panels are on site means either grinding, which is slow, or packing, which is unreliable.
Step 1: Set Out and Install the Base Frame
Mark the tank footprint on the slab from the approved general arrangement drawing, allowing for the base rail width. Fix the base rails or channel using the specified anchors, checking level as you go. Any twist in the base will be reproduced in the tank, so take the time here.
Step 2: Assemble the First Course of Panels
Work around the perimeter, fitting panels to the base rail and to each other. Points that decide the quality of the finished tank:
- Lay out panels by their position marking rather than picking at random — panels are made to a grid and fit in a specific order.
- Apply the specified sealant or gasket system exactly as instructed, with no gaps and no excess squeezed into the tank interior.
- Fit bolts loosely at first, then align and tighten progressively around the perimeter rather than completing one joint at a time.
- Do not over-torque. Bolts are tightened to the manufacturer’s figure with a torque wrench; crushing the joint deforms the sealing surface.
Step 3: Build Up Subsequent Courses
Higher courses are added in the same sequence, with staggered vertical joints between courses — the joints of one course must not line up with the joints below. Staggering spreads load and prevents a continuous crack path. Where the tank is tall, temporary bracing or a scaffold platform is used so that nobody stands on uncompleted panels.
Step 4: Internal Bracing and Tie Rods
Internal tie rods and stays carry the hydrostatic thrust on the walls. They are fitted at the positions shown on the drawing, and their spacing increases with water depth. Two rules matter:
- External bracing is not a substitute for internal tie rods. The walls are designed to be restrained; a tank filled without them will bow.
- Tie rods must not be used as a ladder, a rail or a support for temporary works. Damage to a tie rod connection appears as a wall bulge under load.
Step 5: Roof and Access Openings
Fit roof panels with the manway, vent and any access hatch in the positions shown. A potable water tank should be sealed against insects and light: screened vents and a close-fitting, lockable cover are part of the specification, not optional extras. Where the tank is outdoors, check that roof fixings are stainless and that walkways or handrails are supported independently of the panels.
Step 6: Pipework Connections
Connections are made through the panel or, more commonly, through flanged outlets fixed to the tank wall. Discipline here prevents most future leaks:
- Support external pipework independently — never hang it from the tank wall.
- Use flexible couplings where settlement or thermal movement is expected.
- Fit the outlet so that the dead volume below it is as small as practical.
- For potable water, confirm materials in contact with water are approved for the purpose.
- Arrange the inlet to avoid turbulence and short-circuiting, and fit an air gap or approved backflow protection where required.
Step 7: Filling and Commissioning
Never fill a tank at full rate on the first attempt. The commissioning sequence:
- Check all internal debris, tools and packaging have been removed — this is the last chance before water goes in.
- Fill slowly to roughly one third depth and hold, checking joints and the base for leaks and watching wall deflection.
- Fill to two thirds, then to full, checking at each stage.
- Leave the tank full for at least 24 hours and inspect all joints, tie rod connections and penetrations.
- Test every valve, float, level control and overflow.
- For potable water, chlorinate, flush and sample before putting the tank into service.
- Record the results and hand the log to the building operator.
Common Installation Errors
- Filling the tank before the tie rods and bracing are fully tensioned.
- Lining up vertical joints between courses instead of staggering them.
- Using excessive sealant to cover a poorly aligned joint.
- Cutting a panel on site without an approved method — the exposed cut must be sealed correctly.
- Leaving the tank open and unsecured, allowing contamination before commissioning.
The panels themselves rarely cause problems. Our SMC panel water tank range is supplied with pre-formed sealing surfaces and a dimensioned assembly drawing precisely because the joint quality decides the outcome.
Frequently Asked Questions
How long does installation take?
For a typical plant room tank, assembly is measured in days rather than weeks — a 50 m³ tank is normally erected and filled within two to four working days, excluding base construction and pipework. Large multi-compartment tanks take longer.
Can the tank be installed outdoors?
Yes, provided UV-stabilised panels are specified and the roof, fixings and insulation suit the climate. In hot climates an insulated or shaded tank is preferable to reduce heat gain and condensation.
Do I need to seal the panels with anything else?
No. Use only the manufacturer’s specified sealant or gasket system. Additional site-applied coatings on the internal surface are not required and can void certification for potable water use.
How soon can the tank be put into service?
After the fill test, and after chlorination and sampling for potable water applications. Rushing this stage is the most common reason for taste or bacteriological complaints in the first months of operation. A reputable GRP panel tank supplier will provide a commissioning checklist that covers it.
Summary
A successful SMC tank installation comes down to a flat base, a disciplined assembly sequence, correct bolt torque, complete internal bracing and a patient commissioning procedure. None of it is complex; all of it is sequential, and skipping a step is what produces the leaks that get blamed on the tank.
Installing a sectional tank on an upcoming project? Get in touch for the assembly drawings, weights and base loading figures your site team will need.