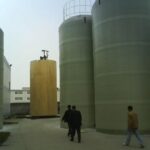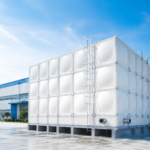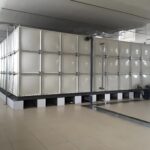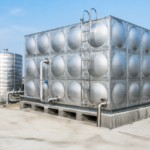
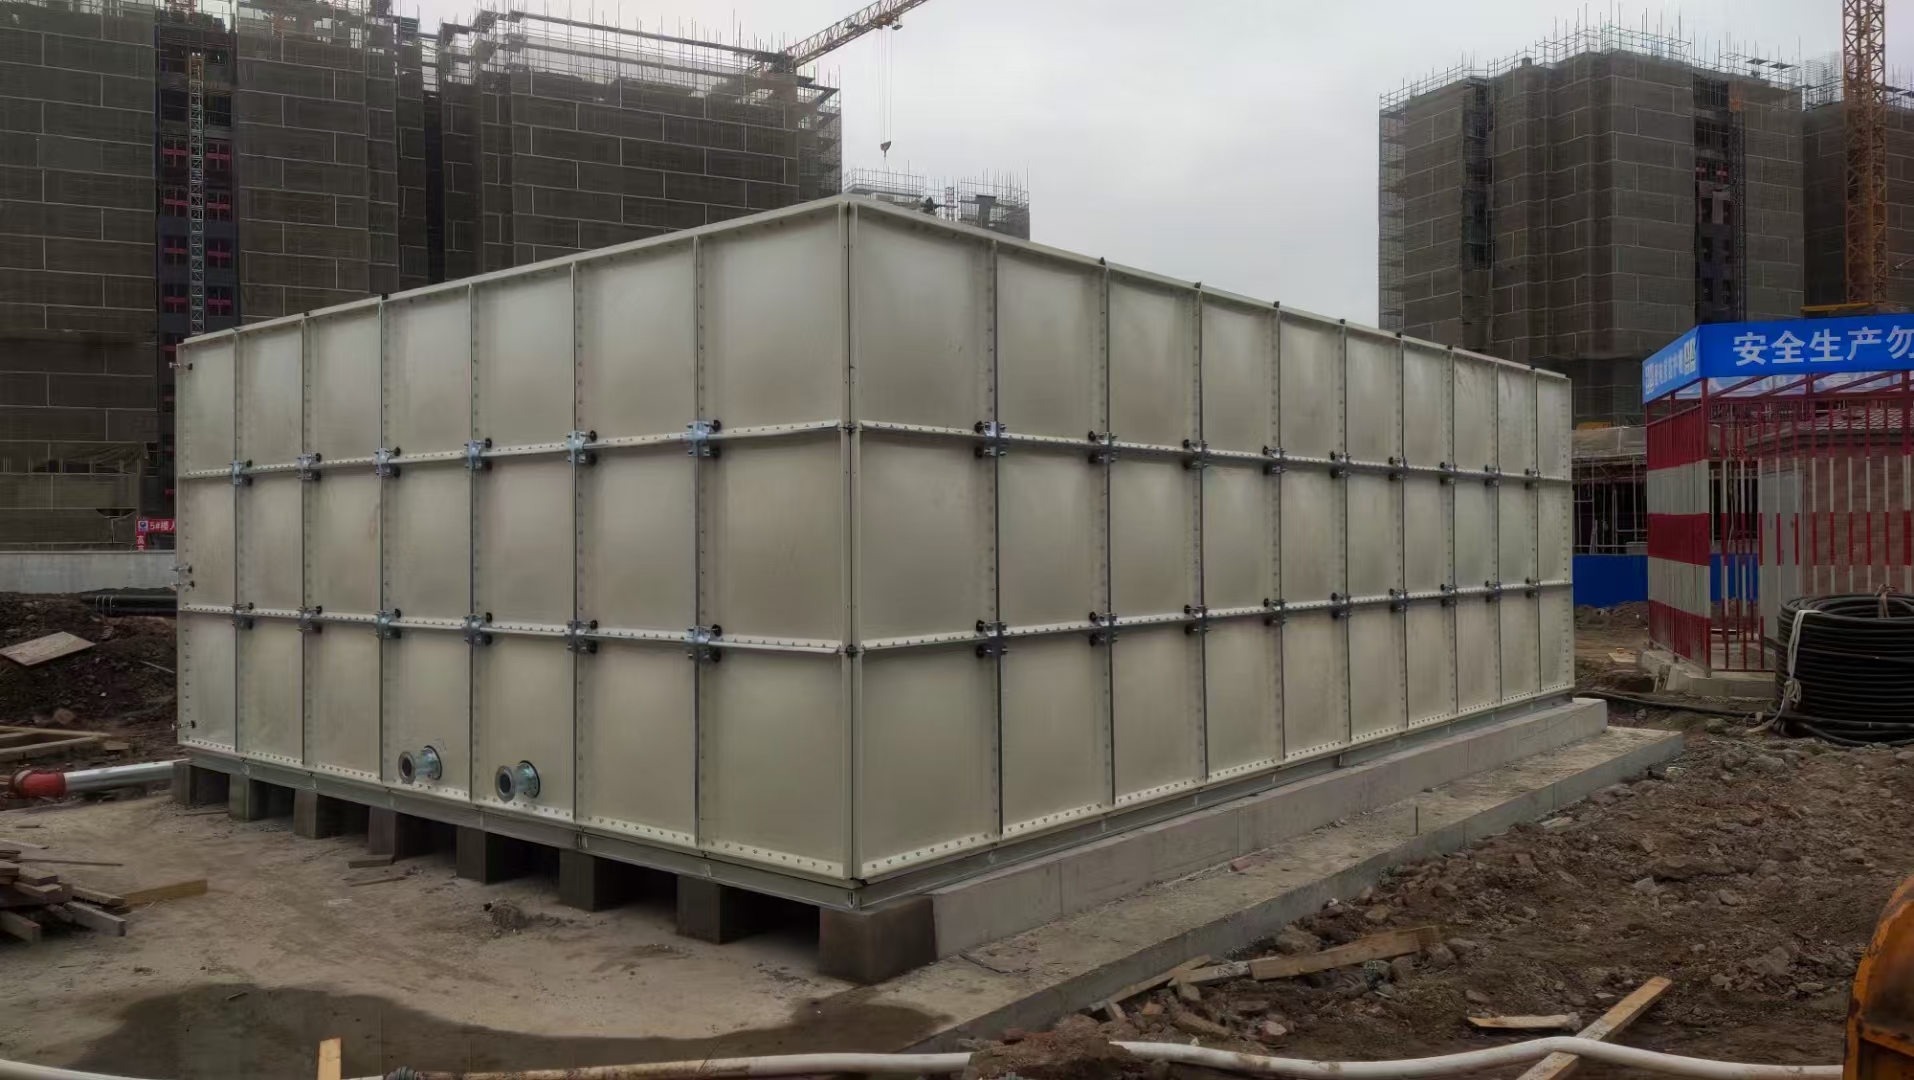
FRP tank installation is fast compared with welded steel or cast concrete — a sectional tank of several hundred cubic metres can be assembled in days. Speed, however, is not the same as simplicity. This article sets out the standard installation procedure for FRP and fibreglass water tanks, covering one-piece units as well as panel tanks, and lists the checks that prevent the failures most often seen on site.
Confirming Construction Type First
The procedure differs materially depending on what is being installed:
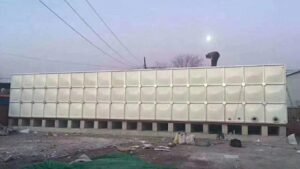
- Sectional / panel tanks — assembled on site from flat panels, gaskets and bolts.
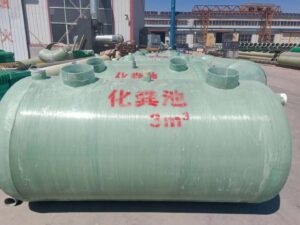
- One-piece moulded tanks — delivered whole; the work is lifting, setting, levelling and connecting.
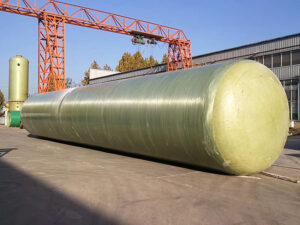
- Filament-wound vessels — usually delivered whole, sometimes with field-applied nozzles; lifting and support are the critical operations.
One-Piece Tank Installation Procedure
1. Access and lifting plan
Confirm the delivery route and lifting method before despatch. One-piece tanks are bulky; a unit that fits the plant room but not the corridor is a costly mistake. Use spreader bars or slings at the designated lifting points — never lift by the nozzles or by wrapping slings around the shell without protection.
2. Base preparation
Cast a reinforced concrete plinth or prepare a steel skid. It must be level, cured and sized to give full bearing under the tank floor. For horizontal tanks, prepare saddles at the correct spacing and contact angle.
3. Setting and levelling
Lower the tank into position, check level in both axes, and shim with a full-contact packing material. FRP shells deform under point loads, so shims must bear broadly, not at a point.
4. Anchoring
Where wind or seismic uplift applies, anchor through the designated hold-down positions with a reinforced bearing plate. Anchor bolts should be tightened to the manufacturer’s figure — over-tightening crushes the laminate.
5. Connections
Fit inlet, outlet, drain, overflow and vent. Support all pipework independently; pipe load on a nozzle is the most common cause of nozzle cracking. Fit flexible couplings to absorb movement and thermal expansion.
6. Vent sizing
The vent must handle both fill and drain rates. An undersized or blocked vent causes vacuum collapse during draining — a catastrophic and avoidable failure. Fit an insect screen and keep it accessible for cleaning.
7. Hydrostatic test and commissioning
Fill in stages, checking for leakage and movement. Hold at design head, typically 24 hours. For potable duty, then drain, clean, disinfect, flush and sample before service.
Panel Tank Installation Procedure
Assembly runs base → walls course by course → internal stays → roof → connections → test. The three points that determine success are gasket continuity, progressive bolt torquing in a cross pattern, and fitting internal stays as each course completes rather than at the end.
Industrial Installations: Extra Considerations
Industrial FRP tank installation adds requirements that domestic jobs do not have:
- Chemical compatibility sign-off — confirming the resin against the actual medium, concentration and temperature
- Bunded area — for hazardous or polluting liquids, a bund with capacity for the tank contents
- Earthing and static control — for flammable stored liquids
- Confined-space entry procedure — for internal inspection, including gas testing and ventilation
- Secondary containment and leak detection — where the process risk assessment requires it
- Insulation and heat tracing — for temperature-sensitive contents
Installation Checks That Prevent Most Failures
- Base level and full bearing verified before setting
- Lifting only from designated points
- No pipe load on nozzles
- Vent sized and unobstructed
- Anchors torqued to specification, not “tight”
- Hydrostatic test held for the full duration with records
- Bolts re-torqued after first fill
- Cleaning and disinfection completed and water sampled for potable tanks
- Maintenance clearance left on all sides
- O&M manual, spare gasket set and torque figures handed over
Frequently Asked Questions
How long does an FRP tank installation take?
A one-piece tank is usually set and connected in a day. Sectional tanks range from two days for small units to two or three weeks for several hundred cubic metres, depending on crew size and access.
Can FRP tanks be installed outdoors?
Yes, provided the resin includes UV stabilisers or the tank is clad or coated, and that insulation and drainage are addressed for the climate.
Do FRP tanks need special tools for installation?
Panel tanks need torque wrenches and basic lifting gear; no welding or hot work is required, which is a significant advantage in occupied buildings.
Need an installation method statement? Tell us the tank type, capacity and site constraints and we will return a step-by-step procedure with hold points and test records.